IMAGS Arduino Instructions
ARDUINO INSTRUCTIONS
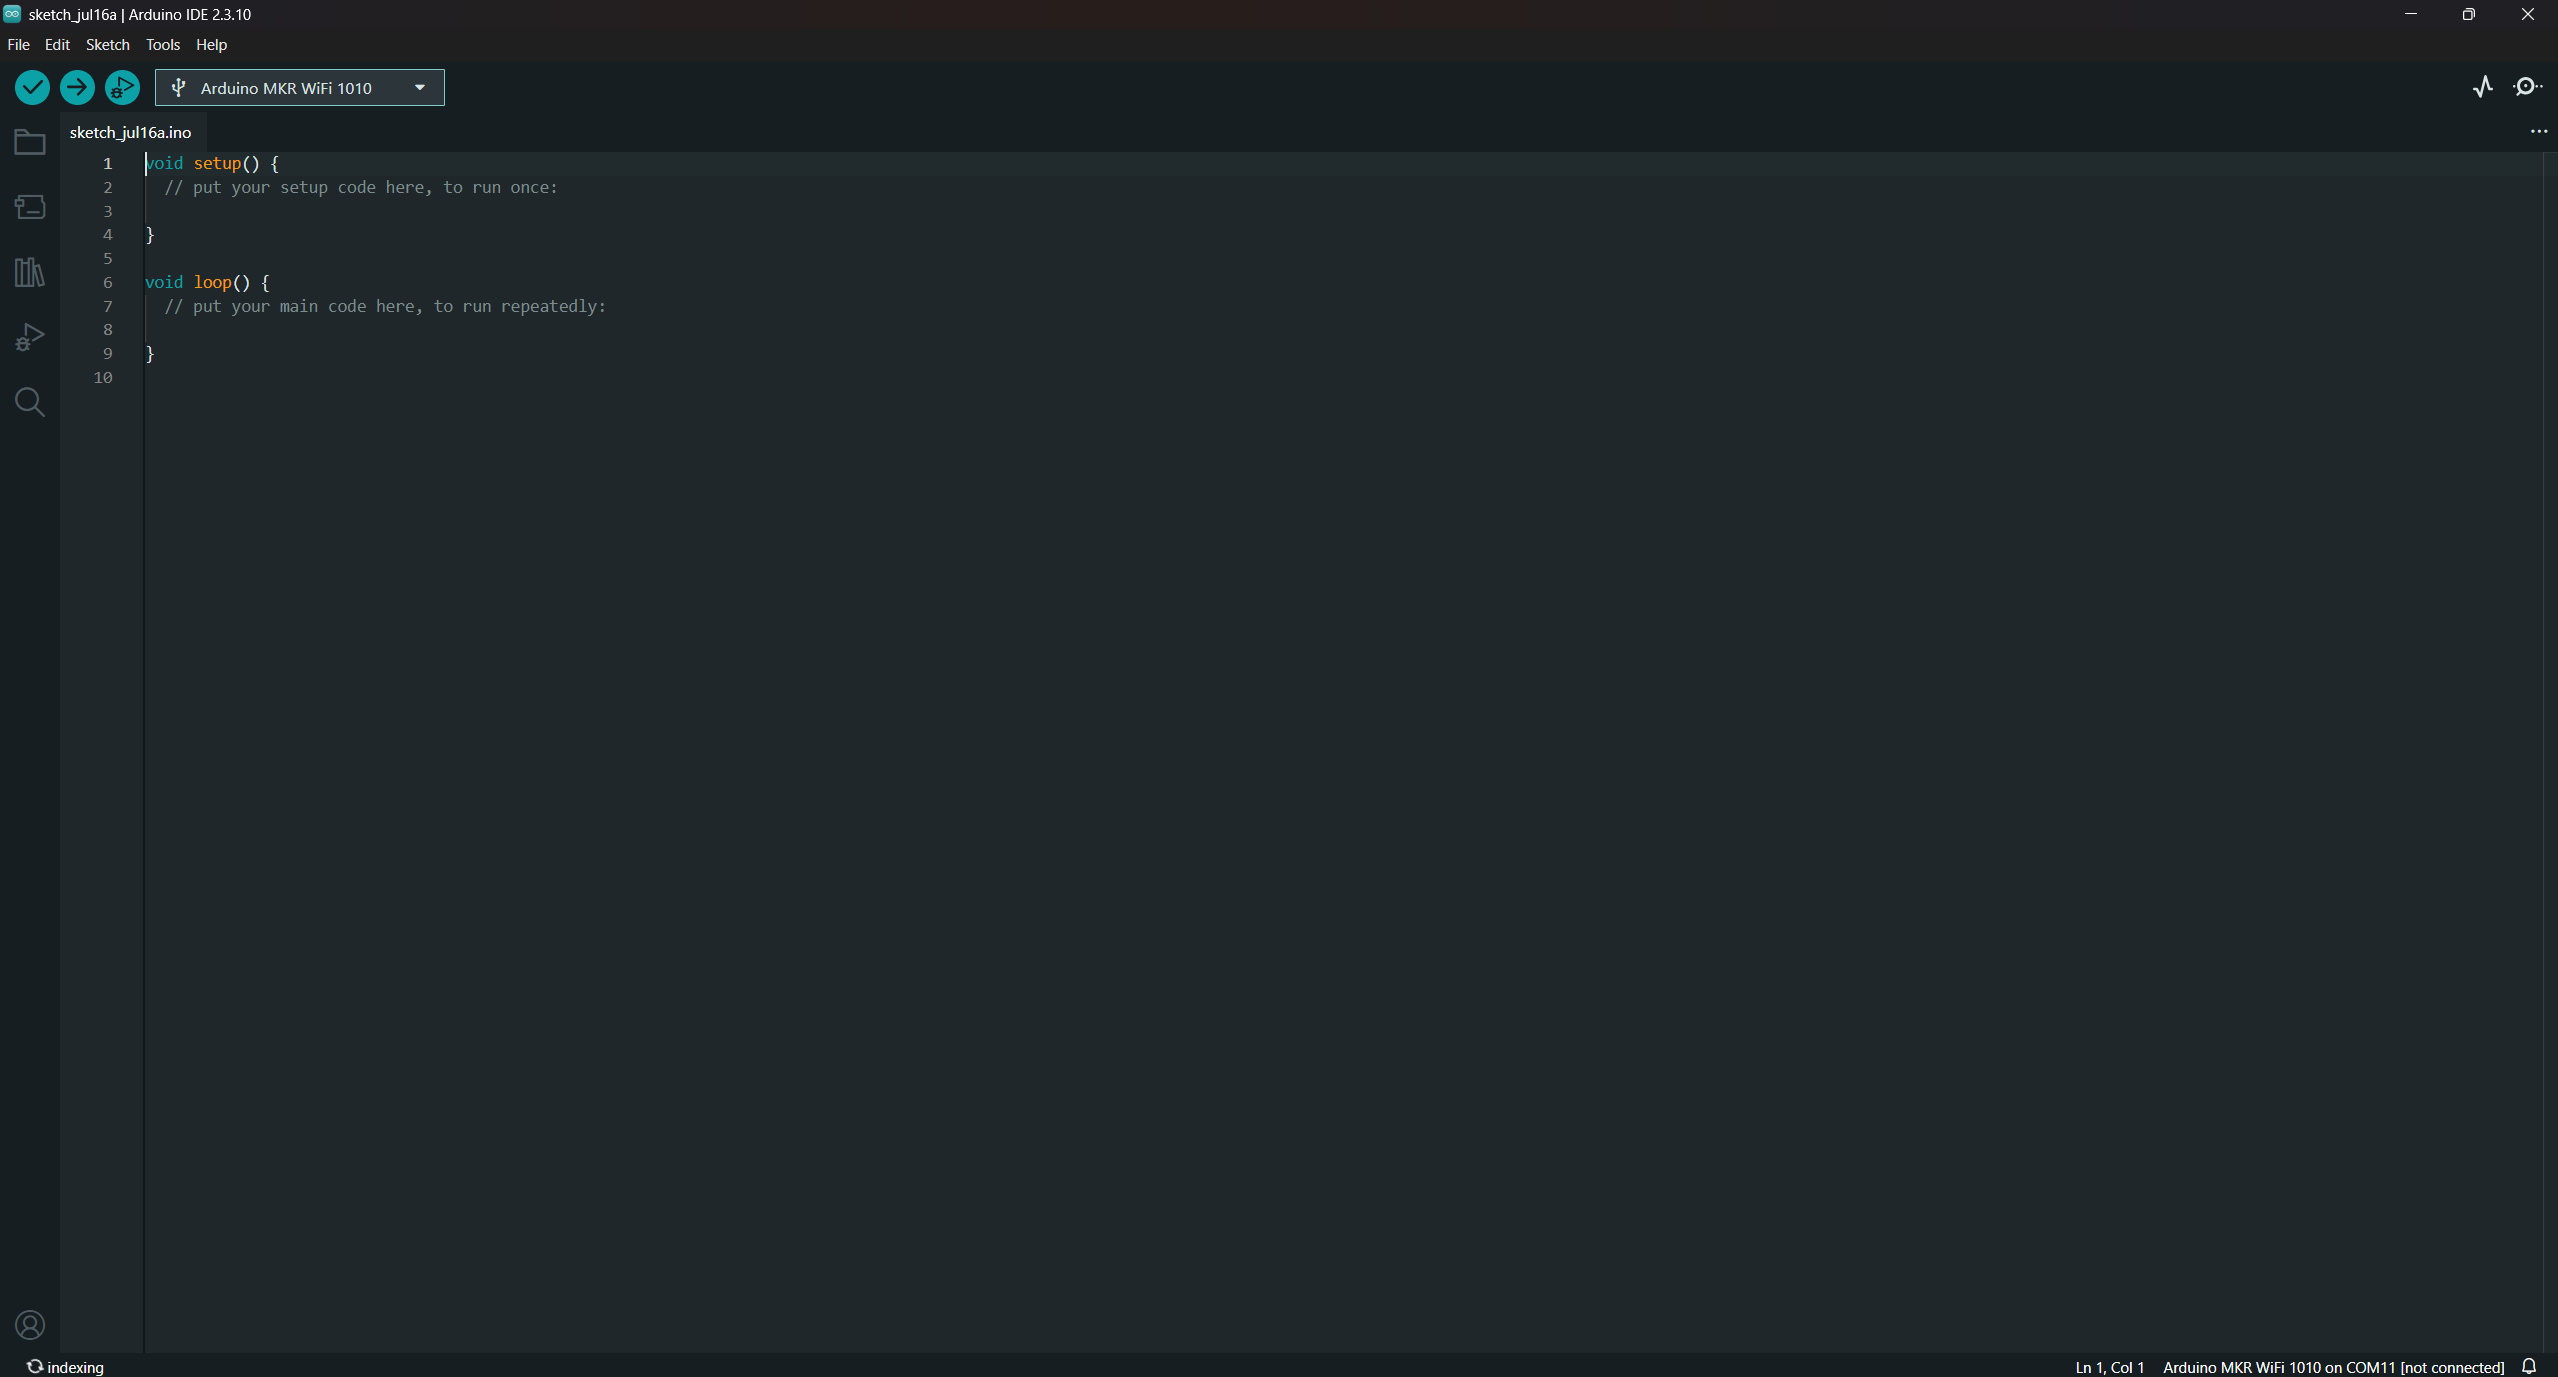
This is what the arduino IDE should look like on a first install,
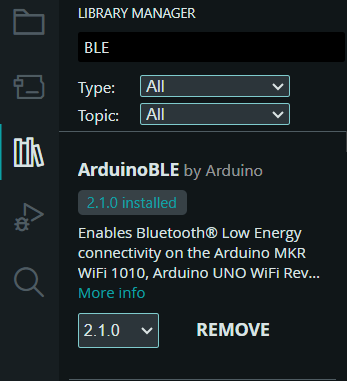
your first step should be going to the library manager on the Left and installing ArduinoBLE which will show up if you type BLE in the search bar.
 Step 1
 Step 2
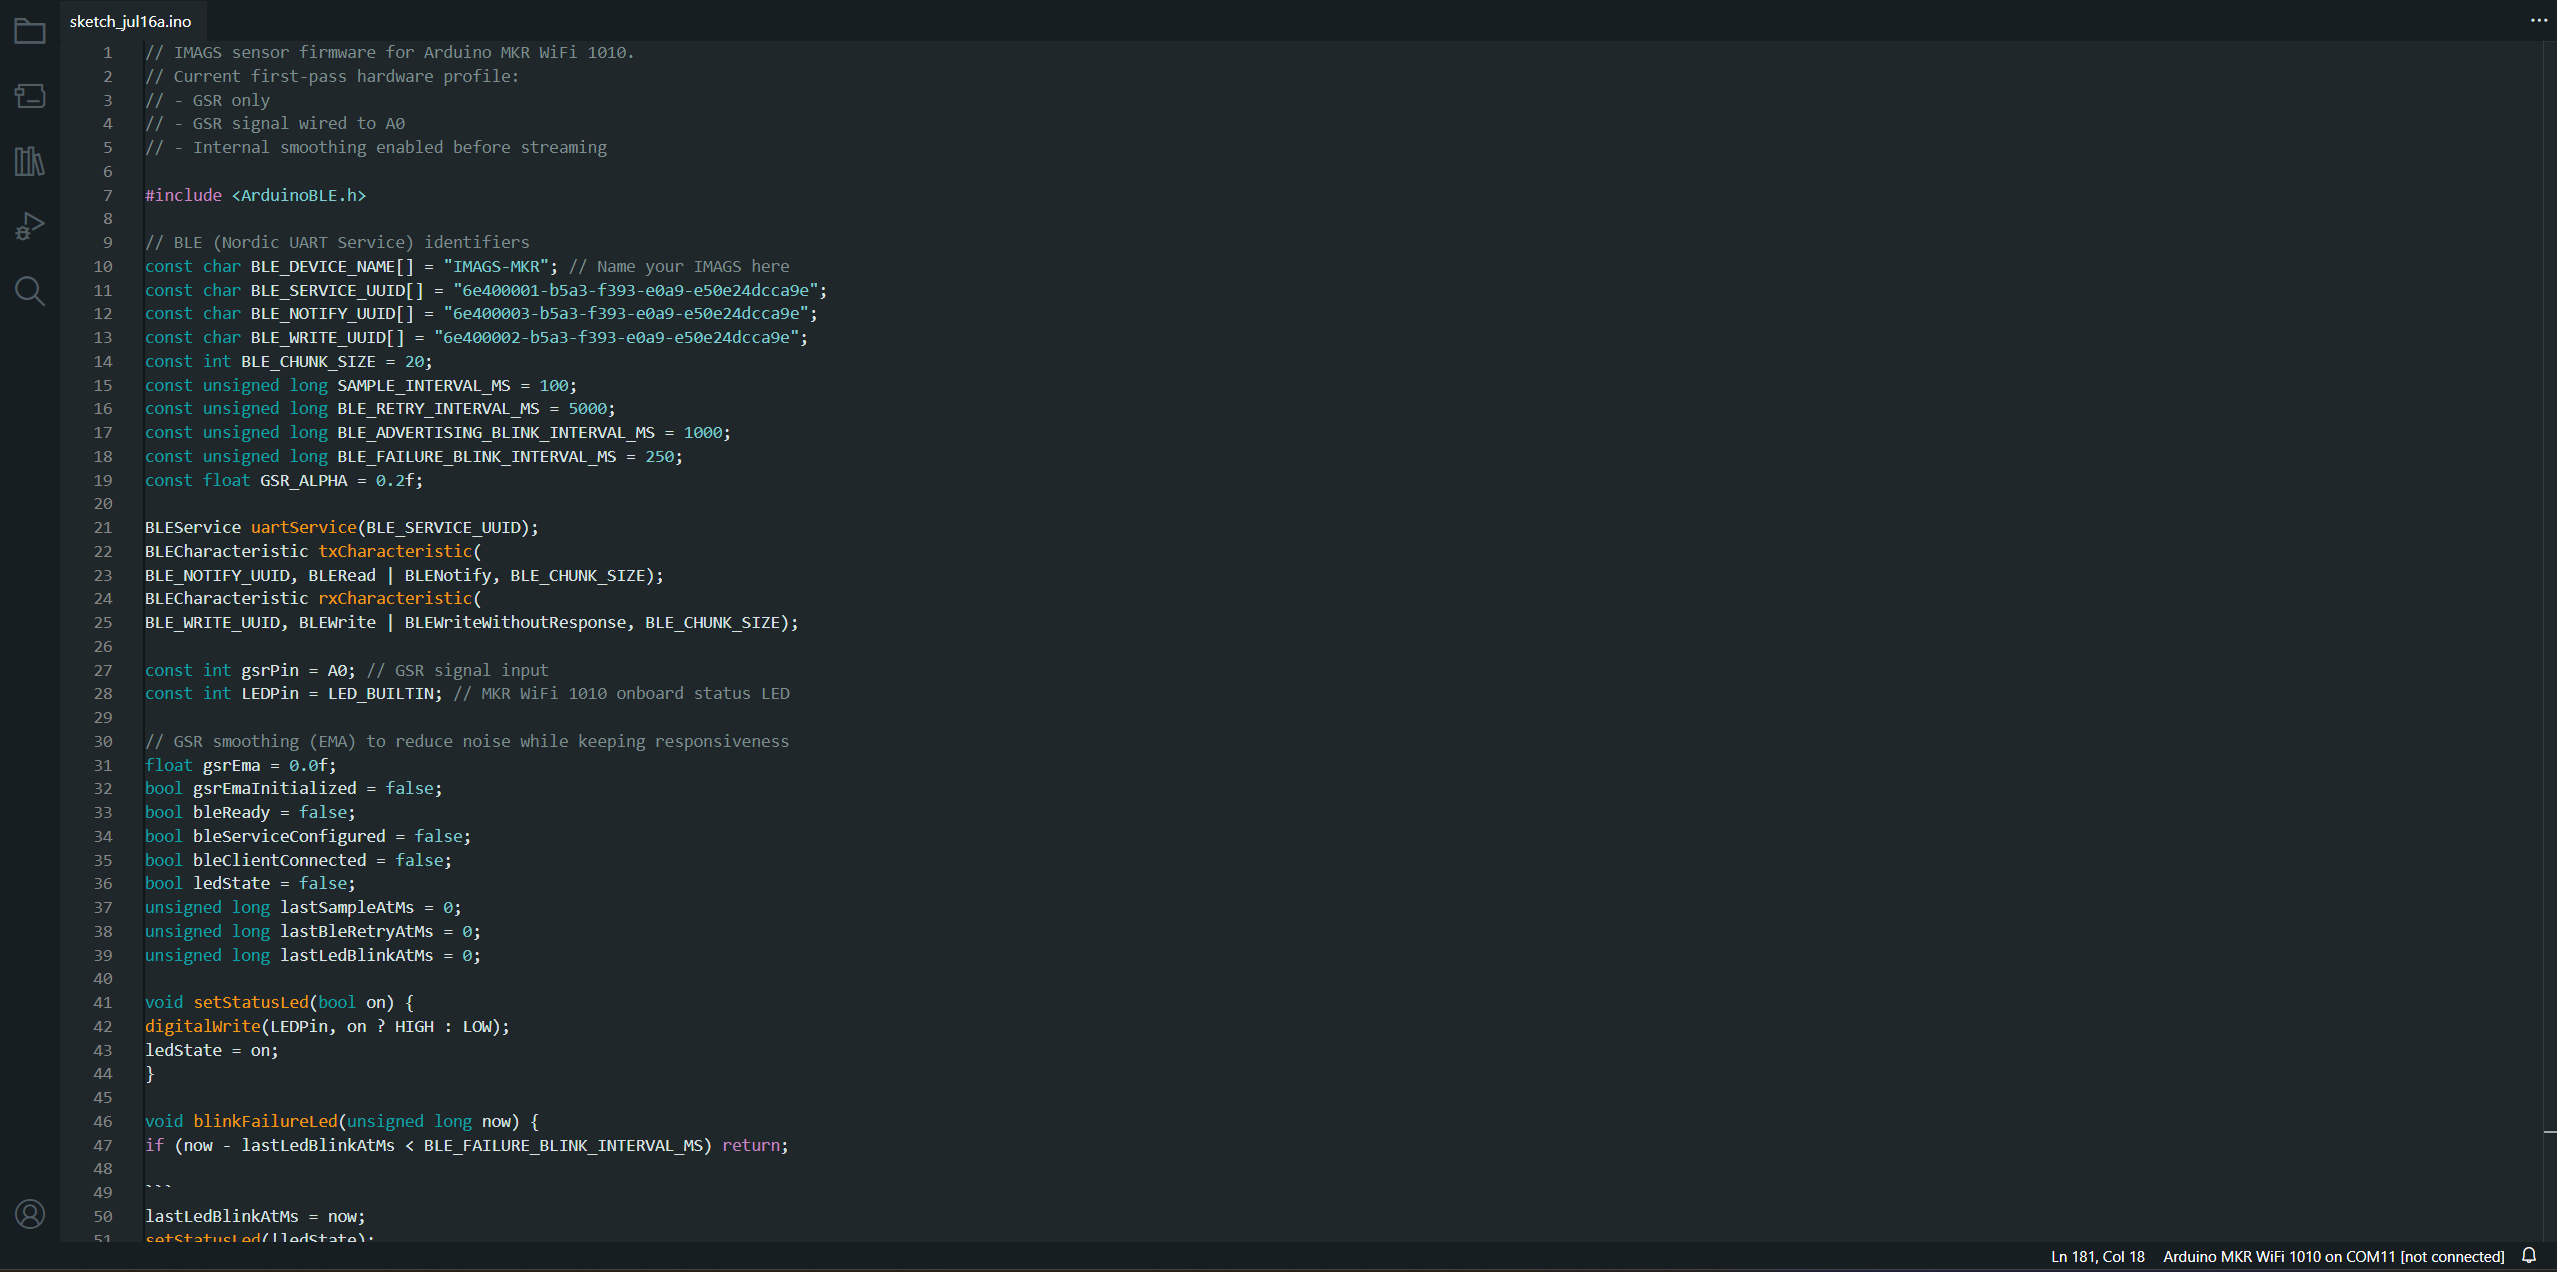
Install all of its dependencies if you are prompted to do so. Then paste the code listed below or taken from our github into the IDE.
At this point you should plug the Arduino into your computer and once it shows up as connected you can press the upload button in the top left corner.
 Step 3
 Step 4
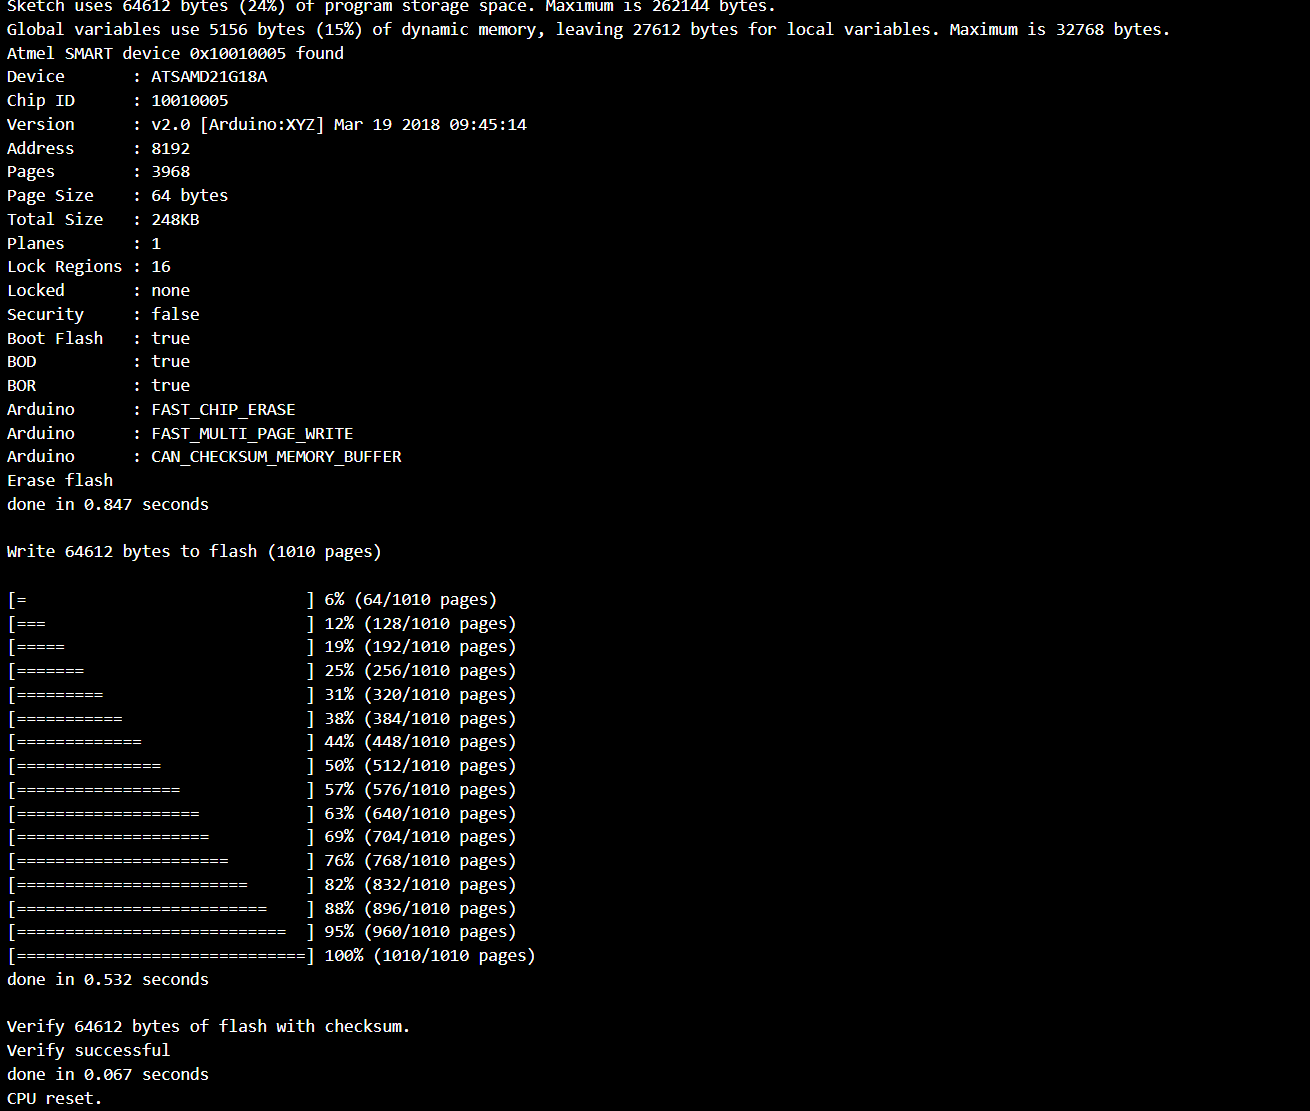
The terminal should pop up at the bottom showing download progress and ultimately telling you if the upload was a success or a failure.
If the upload succeeds then the arduino should be ready to pair up to your computer and begin testing on the IMAGS website.
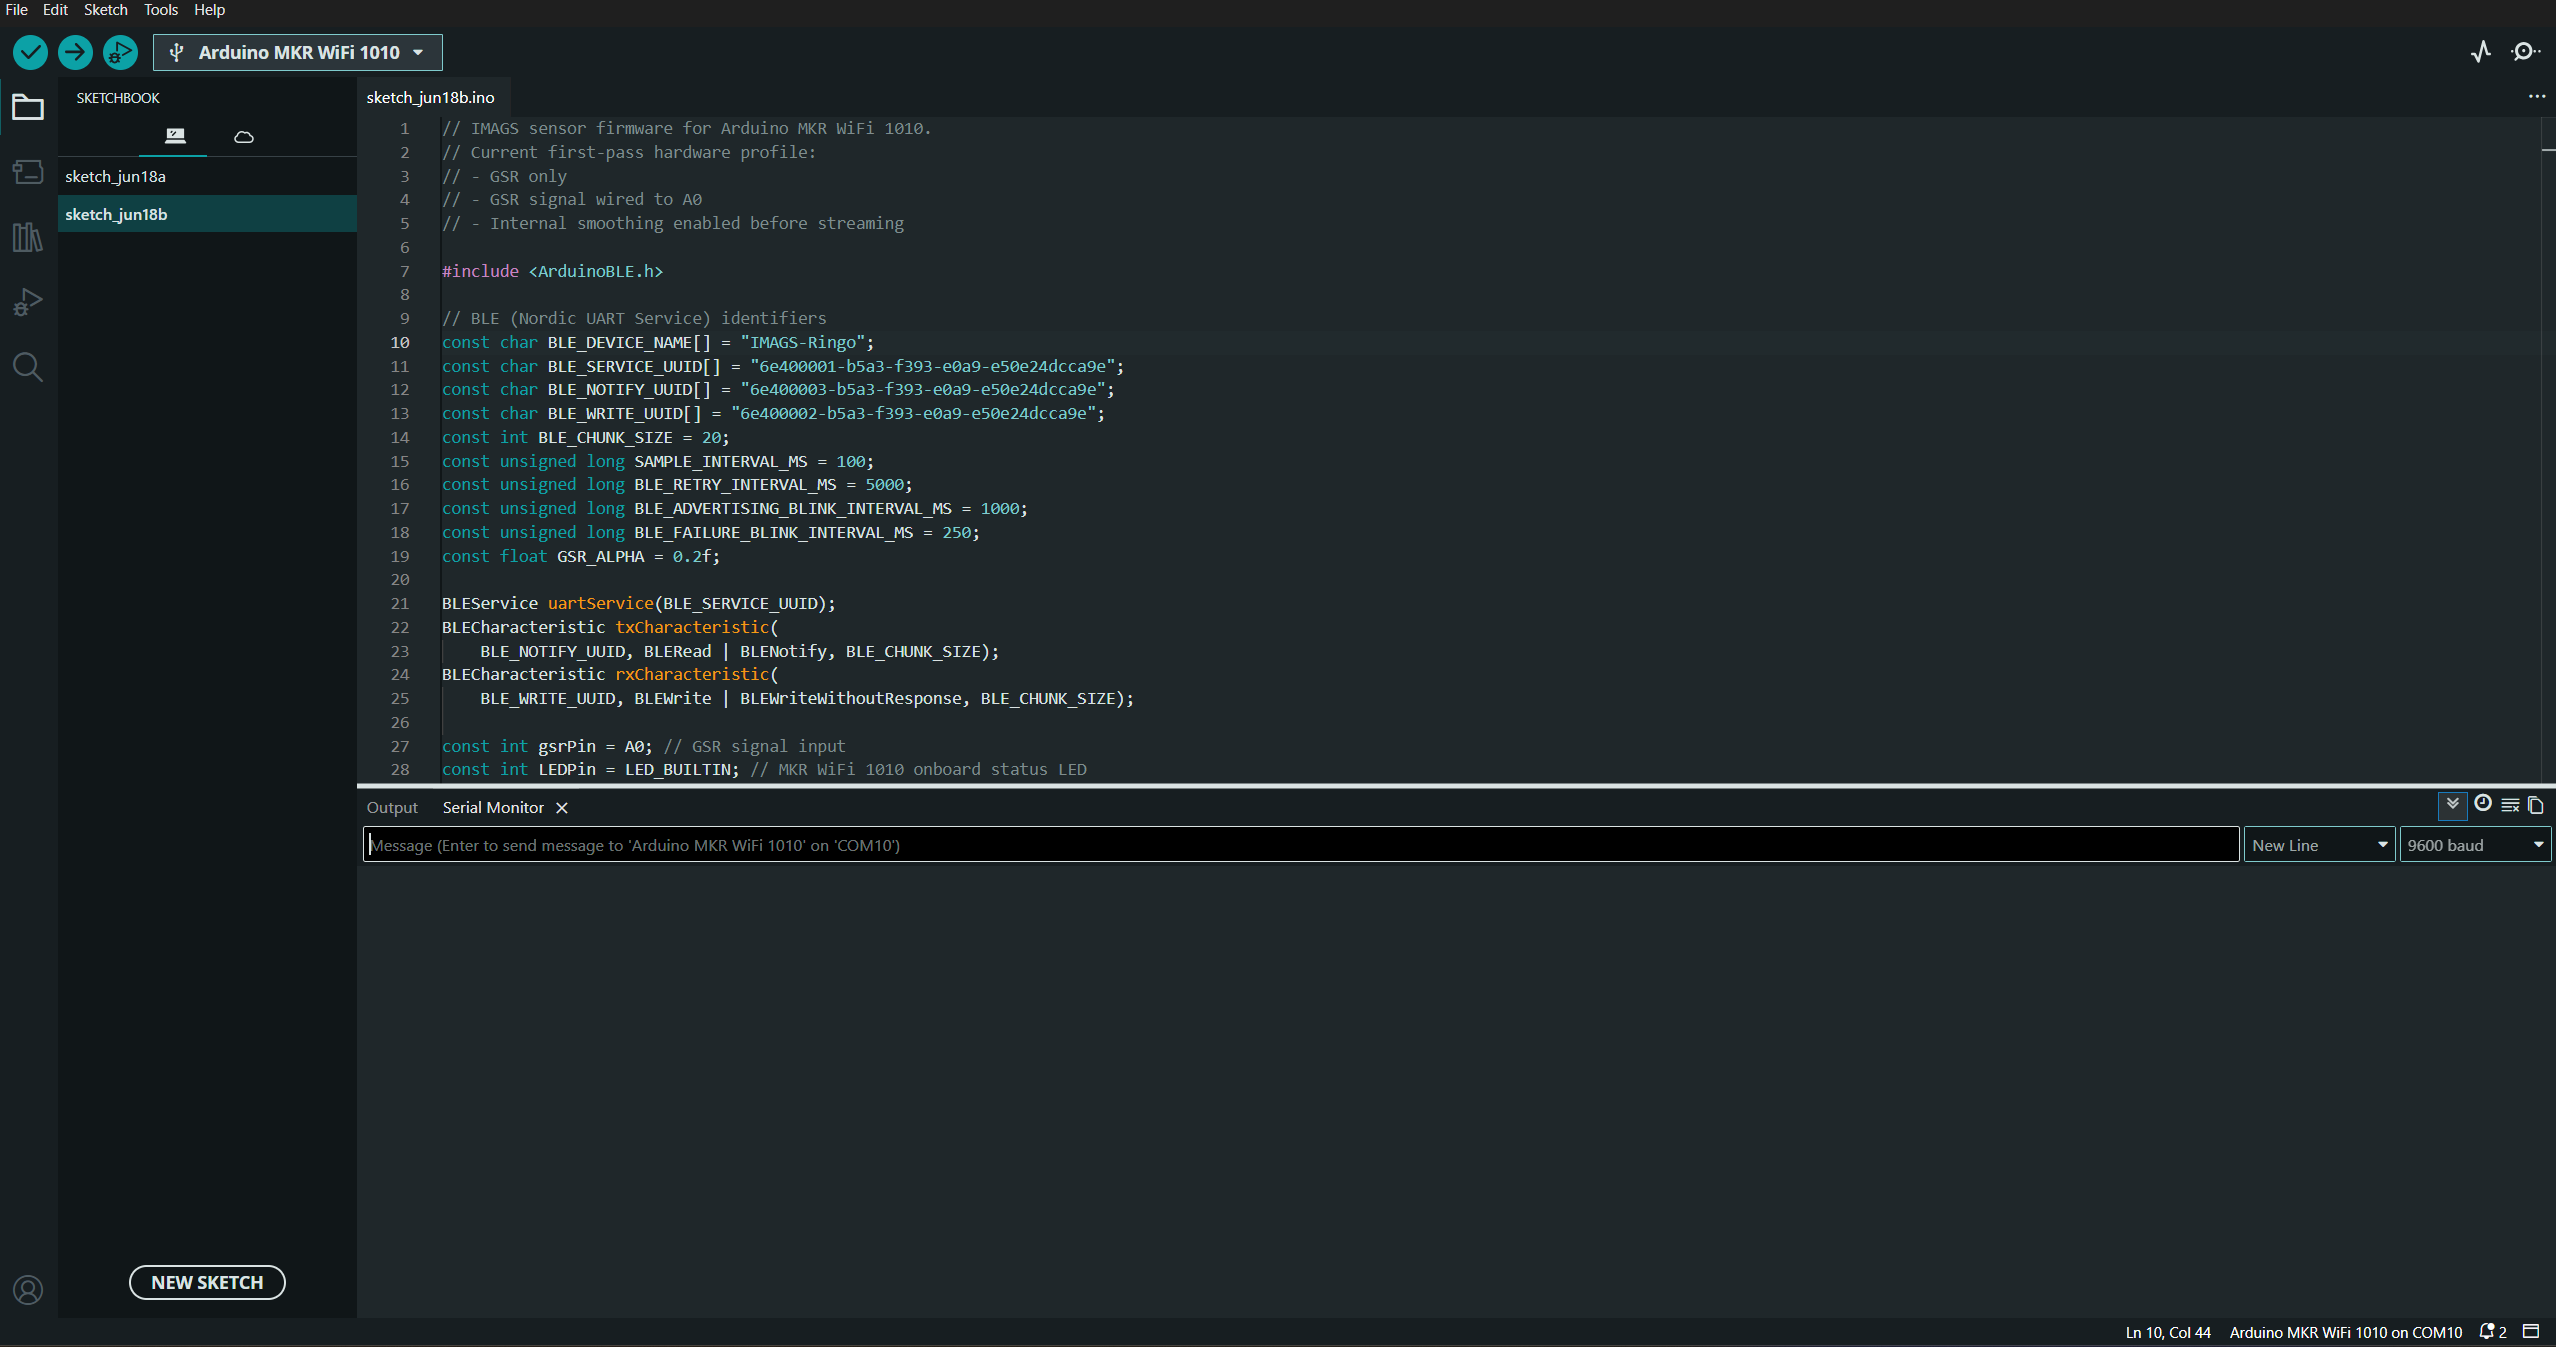
But before you disconnect the arduino you should check the serial monitor which can be accessed by clicking the magnifying glass icon in the top right.
This will pull up the serial monitor on the bottom of the screen where the terminal is,
wait a few seconds on this screen and if no text appears than everything worked properly.
A common error code that will come up sometimes is that the Bluetooth Low Energy module failed to initialize and you need to update your WIFI NINA firmware.
First close the serial monitor, then click on the tools button on the top left of your screen and then go to firmware updater.
If your board is not showing up here then double check that the serial monitor is closed and if even then it does not show up restart the arduino IDE application.
When your board does show up you can click check for updates and then install firmware.
After the firmware is installed you will need to reupload the code for IMAGS onto the arduino.
 Step 5